A Child-Sized Sword Sheath:
Craft Type: Crochet
Supplies:
- Size H hook (or whatever size you need to get the right size for your toy sword)
- Acrylic or other washable worsted weight yarn in the following colors: brown and grey
- A small amount of worsted weight yarn or embroidery thread to embroider a design (if you want)
- A yarn needle to weave ends and such
Before beginning measure your toy sword and write down the measurements for the total length, the blade length, etc. I had a sword that was about 26 inches in length total and a blade measurement of about 19.5 inches. That way the sections for the brown and grey are proportional. So my sections measured out at the following: grey tip was 3 inches, the brown middle was 14.5 inches, and the grey top was 2 inches. You may want to change the lengths according to your toy sword/preference.
Grey Tip:
- Magic circle ( or however you start in the round for this sort of thing) with 10 single crochet. Join the single crochet with slip stitch. You can join each round with a slip stitch or do spiral. I did slip stitch the entire time, but it's your preference.
- Single crochet in each stitch (10 stitches total)
- Increase (2 single crochet per stitch) in each stitch (20 stitches total)
- Single crochet in each stitch for about 10 rounds or 3 inches in length (or desired amount/length).

Brown Middle:
- Switch from grey to brown. Finish and weave ends from grey now.
- Single crochet in each stitch until 14.5 inches long (or desired length)
- Switch back to grey. Finish and weave ends from brown now.


Grey Top:
- Single crochet in each stitch until 2 inches in length (or desired length). Finish off and weave ends. Should look like a long tube.
- Embroider anything you want if desired on this portion. I embroidered a golden triforce since this is to go with a "Zelda" themed gift.


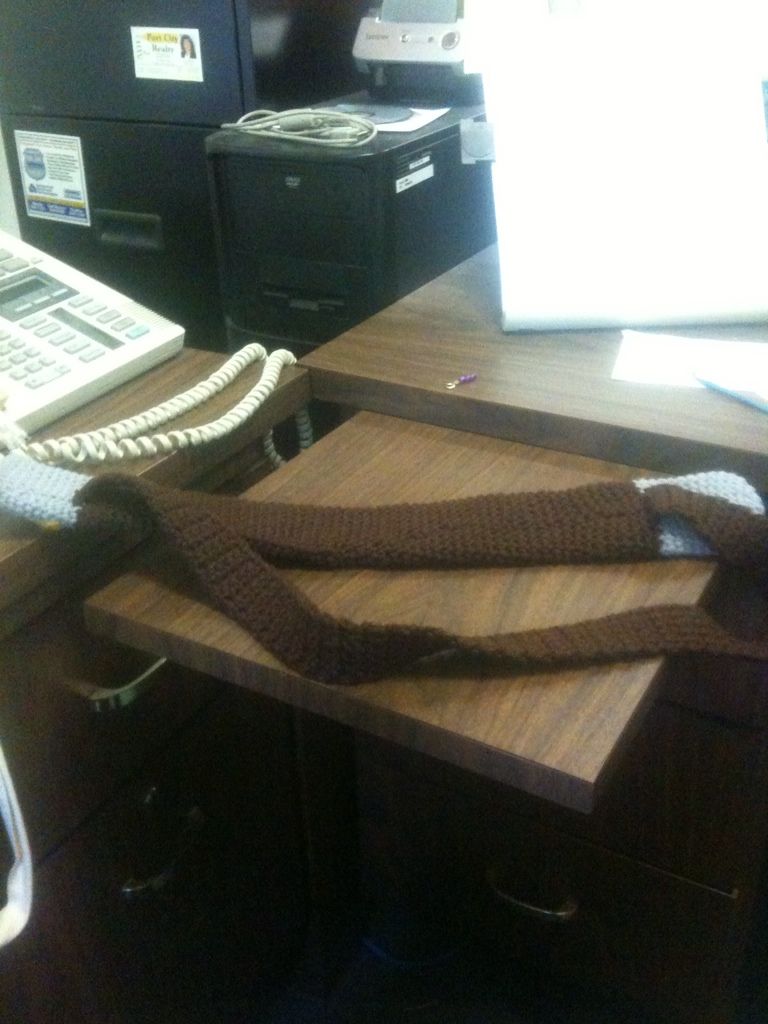
Strap:
- Chain 6 stitches and single crochet into the second stitch closest to hook (5 stitches)
- Chain 1, single crochet into each stitch (5 stitches)
- Repeat row 2 until desired length (Mine was about 2 feet in length)
- Sew ends onto tube at the color changes (see picture for reference)
Well here is a picture of the finished product! And the final part of the gift is complete!

Well there you go! I hope you enjoy this pattern! As always, if you post this please link back to me, etc....you know the drill. Plus any questions feel free to comment/message/e-mail me! Laters!
No comments:
Post a Comment