Showing posts with label pattern. Show all posts

Tuesday, July 31, 2012

A New Pattern! A Simple Bookmark

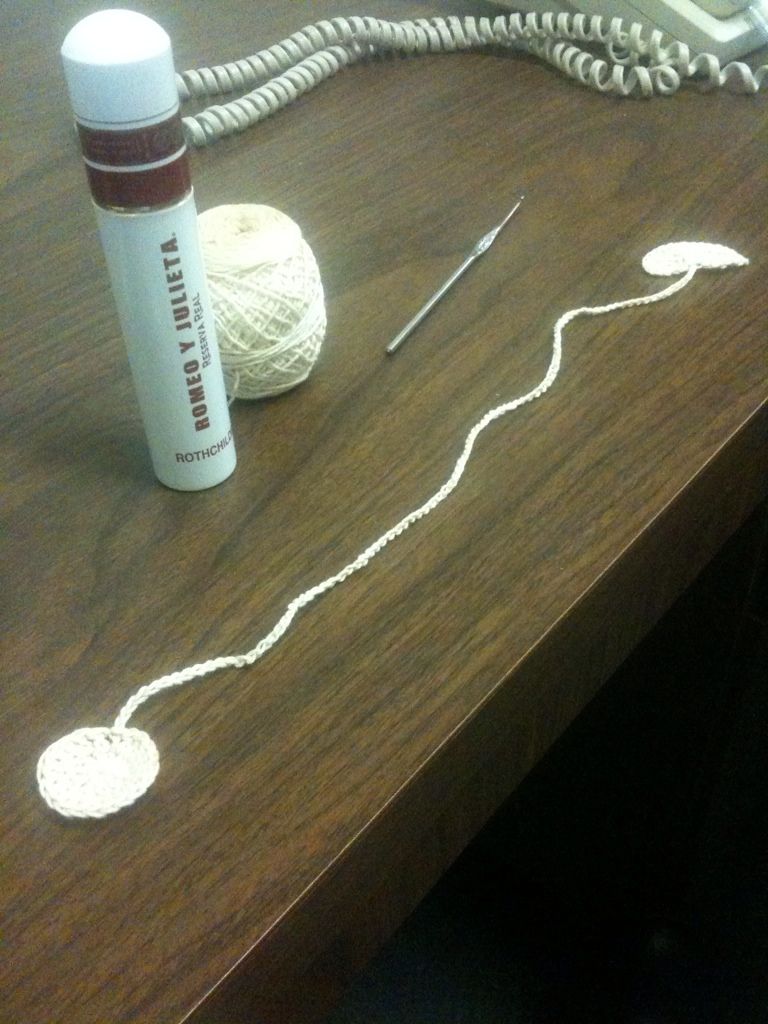
Well...I've been busy...sorta... Oh well, any who, I did make a new bookmark for me to use out of some old crochet thread that I found. I created it because I couldn't find anything that I liked that was super-simple. As always I'm making it a free pattern with the usual disclaimer. In case you are like me and are absent minded or you are a first-time visitor to my blog, feel free to look at my other patterns and read aforementioned disclaimer. Feel free to e-mail me with any questions or comment or post them here.

A Simple Bookmark

Supplies:
a size 7/ 1.65mm steel hook
crochet thread/ string (whatever color you want)
needle to weave ends (unless you use the hook to do that)

Pattern:
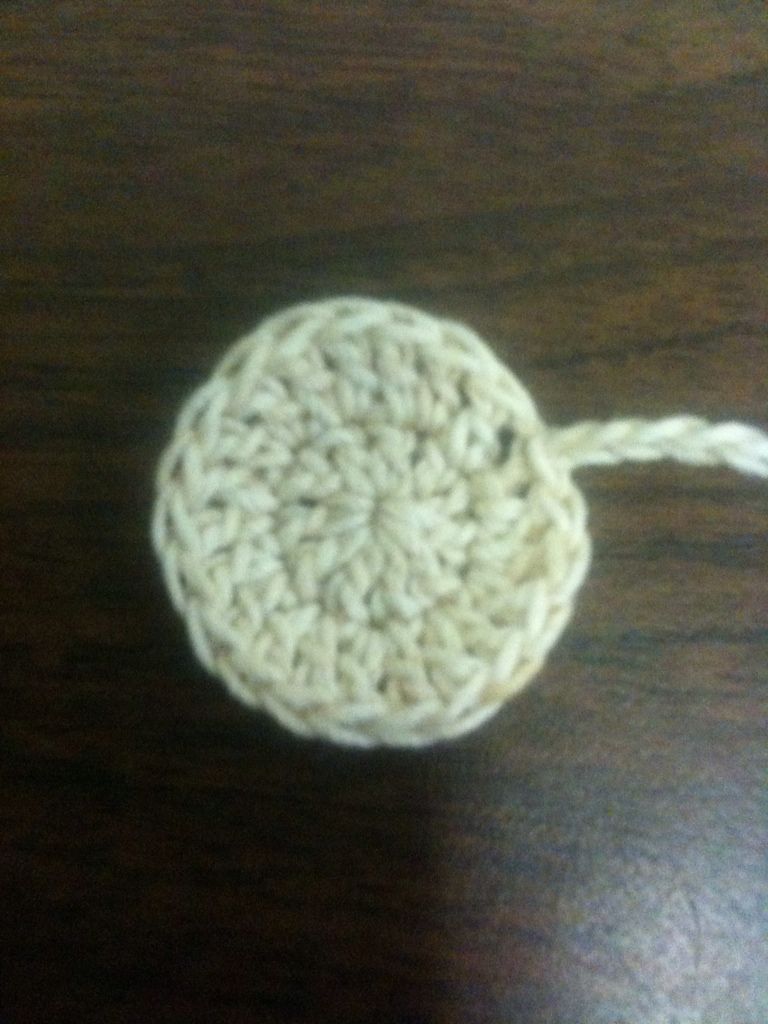
  1. Chain 2 and 10 double crochet into the 2nd stitch from hook, slip stitch into the chain 2 (10 stitches)
  2. Chain 2, 2 double crochet into each stitch, slip stitch (20 stitches)
  3. Chain stitch until the chain is about 12 inches long or desired length
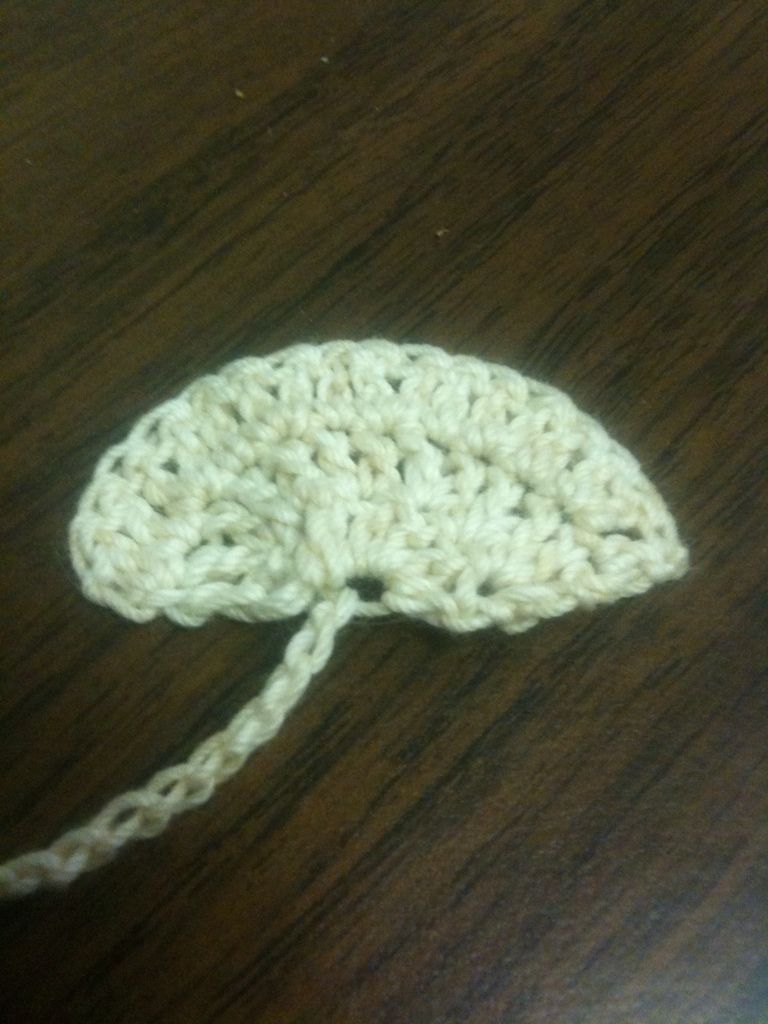
  4. double crochet 6 times into the 2 stitch from hook (6 stitches)
  5. Chain 2, 2 double crochet in to each stitch (12 stitches)
  6. Chain 2, 2 double crochet in first stitch, 1 double crochet in the next, repeat the pattern[there should be 2 double crochets every other stitch](18 stitches)
  7. Finish off and weave ends


And there you have it! Quick and easy to do! I was able to do this while watching an episode of True Blood last night, and finished it before the episode ended. Like I said before the normal disclaimers apply. Happy hooking!!!

Thursday, July 19, 2012

New Pattern! A Child-Sized Sword Sheath!

OK this was created out of necessity... So I was making a set of items for a friend's son for his birthday, and said items were "Legend of Zelda" related. My friend's son mentions that he has a plastic toy sword but has nothing to put it in to carry it. I tried looking all over for patterns and yet could not find one. I found ones that were for softies/toys and the like. So I saw what I liked and up-sized it. So it looks sorta like Nerdigurumi's pattern but only in the colors used. I created this using a lot of trial and error. As per normal this pattern is free. So here it is...

A Child-Sized Sword Sheath:

Craft Type: Crochet

Supplies:
  • Size H hook (or whatever size you need to get the right size for your toy sword)
  • Acrylic or other washable worsted weight yarn in the following colors: brown and grey
[Note: I used about 0.8 of a skein of brown and about 0.4 of a skein of grey. It depends on the length of the sword, the one I was making it for was about 26 inches with a blade length of about 19.5 inches. Yours may be different so plan accordingly]
  • A small amount of worsted weight yarn or embroidery thread to embroider a design (if you want)
  • A yarn needle to weave ends and such
Pattern:

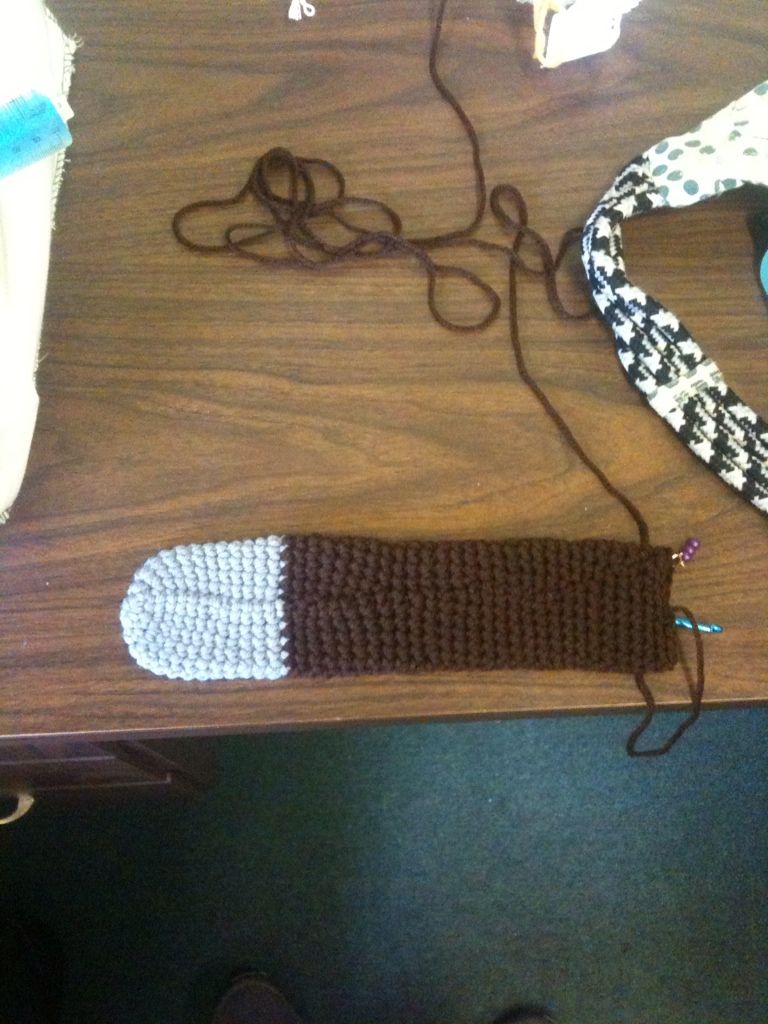
Before beginning measure your toy sword and write down the measurements for the total length, the blade length, etc. I had a sword that was about 26 inches in length total and a blade measurement of about 19.5 inches. That way the sections for the brown and grey are proportional. So my sections measured out at the following: grey tip was 3 inches, the brown middle was 14.5 inches, and the grey top was 2 inches. You may want to change the lengths according to your toy sword/preference.

    Grey Tip:
  1. Magic circle ( or however you start in the round for this sort of thing) with 10 single crochet. Join the single crochet with slip stitch. You can join each round with a slip stitch or do spiral. I did slip stitch the entire time, but it's your preference. 
  2. Single crochet in each stitch (10 stitches total)
  3. Increase (2 single crochet per stitch) in each stitch (20 stitches total)
  4. Single crochet in each stitch for about 10 rounds or 3 inches in length (or desired amount/length).


     Brown Middle:
  1. Switch from grey to brown. Finish and weave ends from grey now.
  2. Single crochet in each stitch until 14.5 inches long (or desired length)
  3. Switch back to grey. Finish and weave ends from brown now.


     Grey Top:
  1. Single crochet in each stitch until 2 inches in length (or desired length). Finish off and weave ends. Should look like a long tube.
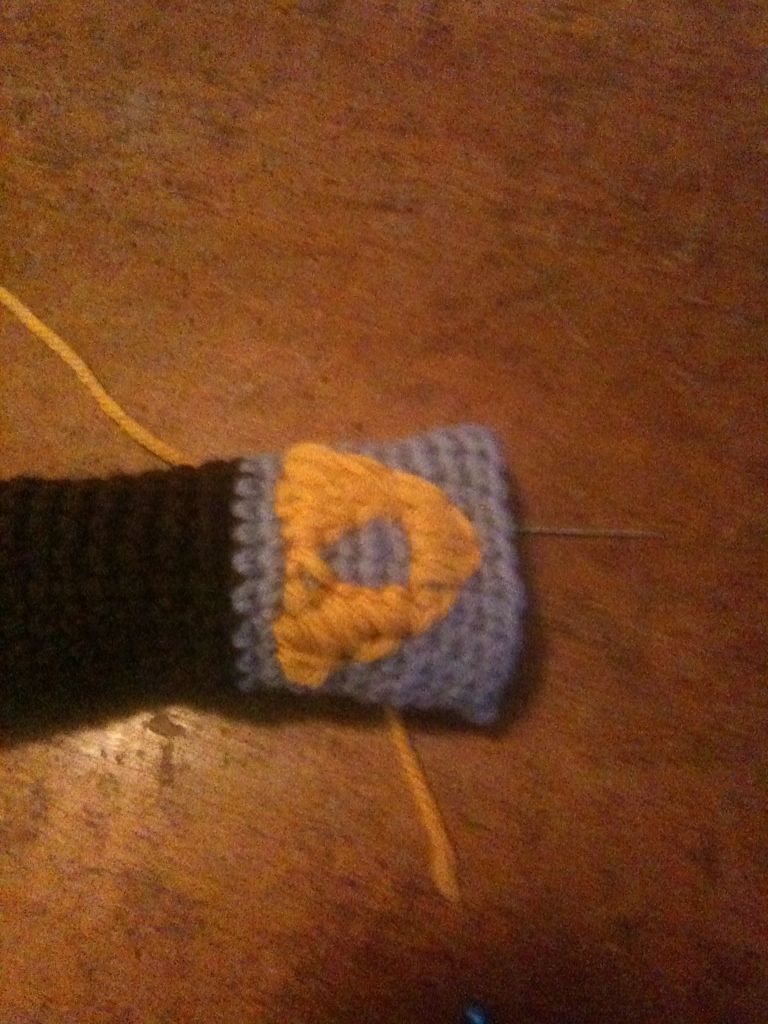
  2. Embroider anything you want if desired on this portion. I embroidered a golden triforce since this is to go with a "Zelda" themed gift.


    Strap:
  1. Chain 6 stitches and single crochet into the second stitch closest to hook (5 stitches)
  2. Chain 1, single crochet into each stitch (5 stitches)
  3. Repeat row 2 until desired length (Mine was about 2 feet in length)
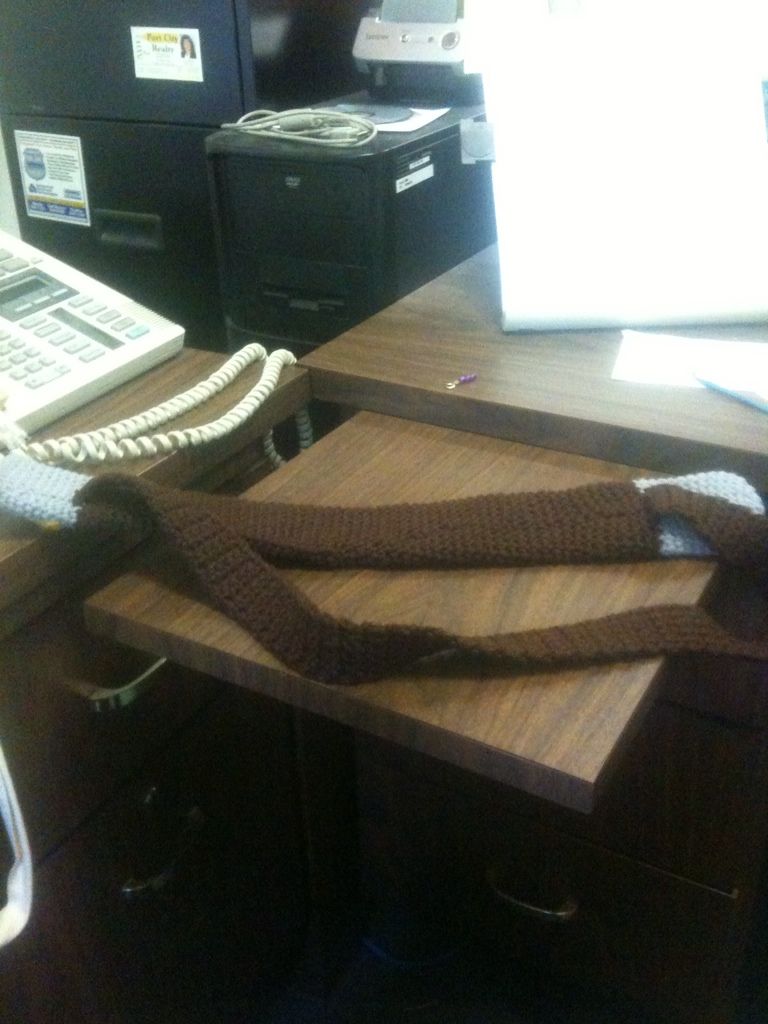
  4. Sew ends onto tube at the color changes (see picture for reference)


Well here is a picture of the finished product! And the final part of the gift is complete!


Well there you go! I hope you enjoy this pattern! As always, if you post this please link back to me, etc....you know the drill. Plus any questions feel free to comment/message/e-mail me! Laters!


Friday, June 8, 2012

New Design!! Bright Day Headband

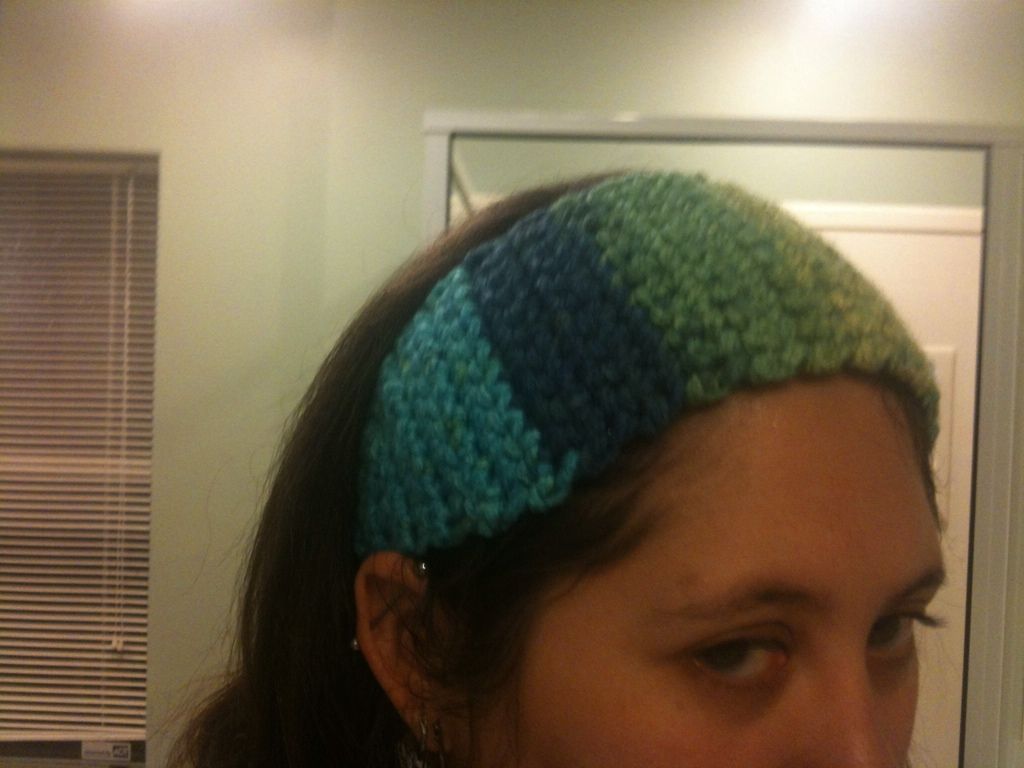
Well I have a new design ready! As I did last time it's a free pattern. It took me only about an hour or so to make the finished product. It took me a day to design it. So here it is... the Bright Day Headband!

Bright Day Headband:

Supplies:
  • size J hook (or hook that fits yarn type, if using something other than bulky)
  • bulky yarn (I used some leftover Loops and Thread Charisma in Sunny Day) or yarn of your choice
  • yarn needle (to weave ends and sew)
Pattern:

Row 1: Ch 3, sc in 2nd st from hook, sc to end (2 stitches)
Row 2: Ch1, sc in each stitch; Repeat until about 4 inches long
Row 3: Ch 1, 2 sc in each stitch (4 stitches)
Row 4: Ch 1, sc in each stitch; Repeat one more time
Row 5: Ch 1, sc, 2 sc in next 2 st, sc in last st (6 stitches)
Row 6: Ch 1, sc in each stitch; Repeat one more time
Row 7: Ch 1, sc, 2 sc in next 4 st, sc in last st (10 stitches)
Row 8: Ch 1, sc in each stitch; Repeat until you reached desired length (I did 9 inches. Easiest thing is measure the top of the head from the top of the right ear to the top of the left and use that measurement)
Row 9: Ch 1, sc, dec sc in next 8 st, sc in last st (6 stitches)
Row 10: Ch 1, sc in each stitch; Repeat one more time
Row 11: Ch 1, sc, dec sc in next 4 st, sc in last st (4 stitches)
Row 12: Ch 1, sc in each stitch; Repeat one more time
Row 13: Ch 1, dec sc 2 times (2 stitches)
Row 14: Ch1, sc in each stitch; Repeat until about 2 inches long. Finish and leave a tail long enough to sew the ends together and weave any loose ends.


If you have any questions/comments/concerns/suggestions please let me know! I would appreciate it! If you post/sell this on your blog/website please credit this blog/designer.

Monday, March 12, 2012

Well You See What Had Happened Was....

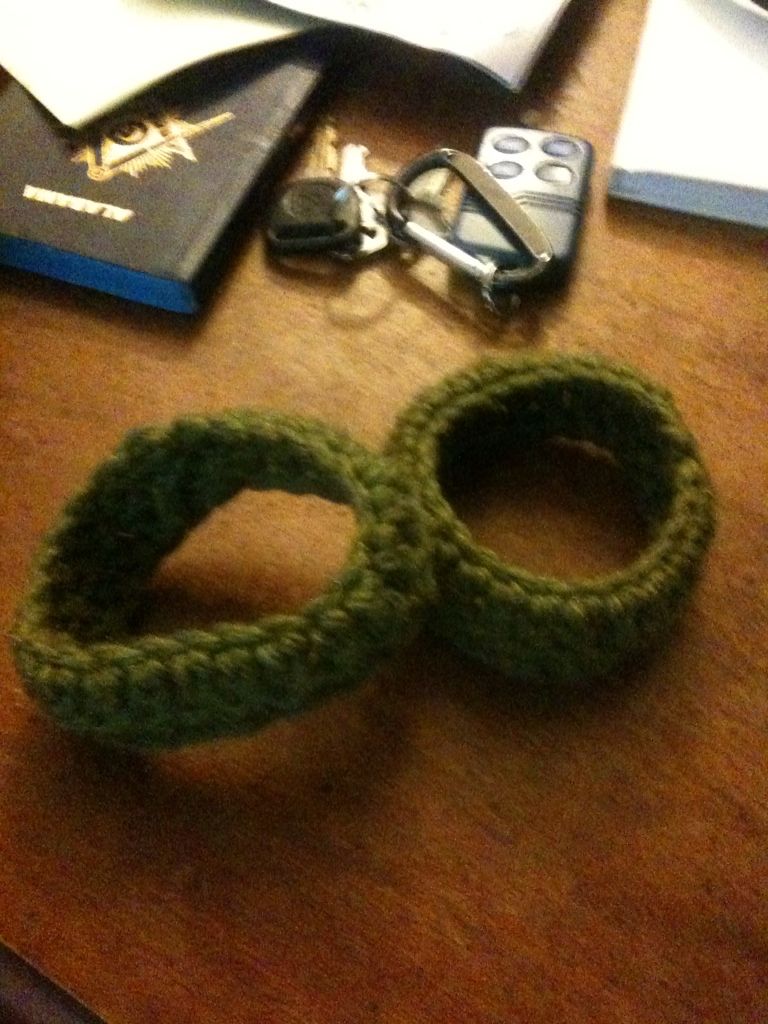
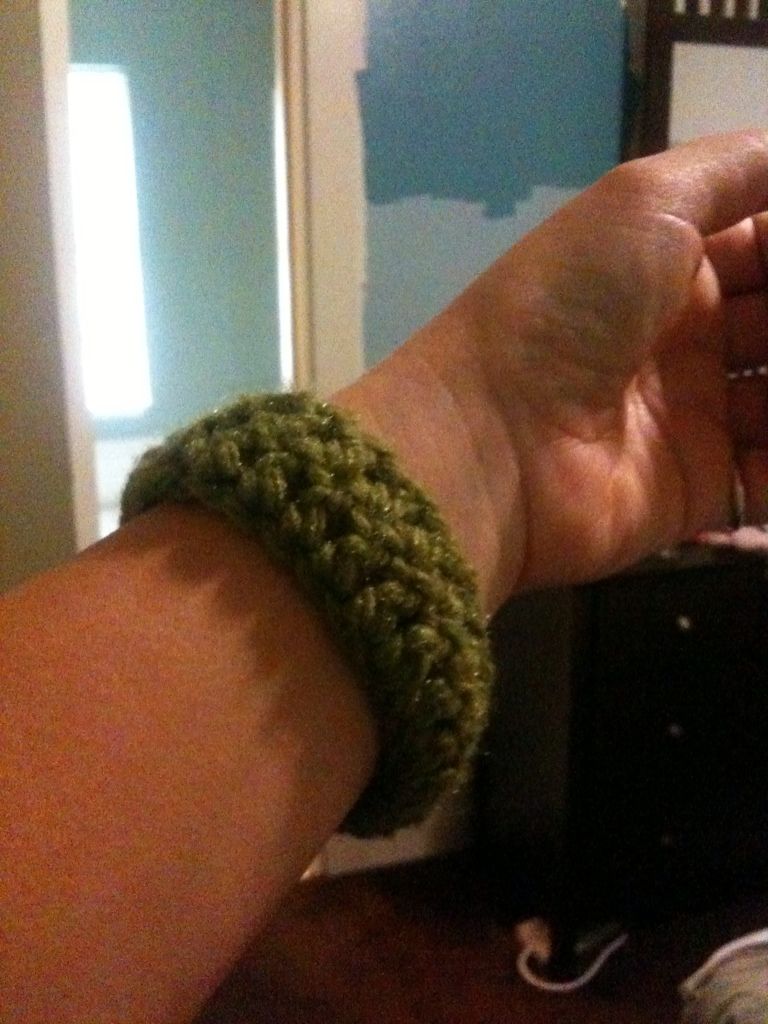
Sorry that I've not posted in a while...Mardi Gras, work, house stuff have kept me busy. But I figured that I would post since I have some time! I went to several Mardi Gras balls this year and ended my holiday season with the Metairie, LA, Saint Patrick's Day Parade. Well on the way there I go bored but thankfully I always carry some yarn and my set of crochet hooks. So I created these two bracelts to wear and had them done by the time the bus got to Louisiana. I'll post the pattern for you here for FREE!

On The Way To Metairie Bracelets:

Supplies: Bulky yarn of your choice (I used some random green yarn)
               H hook
               Yarn needle (to weave ends)

Instructions:
Round  1.)  Start with chaining 25 or how ever many will go around your wrist and slip stitch last stitch to the first. Be sure not to twist stitches

Round 2.) Chain 2 and double crochet around and slip stitch into the top stitch of the chain 2.
   
Round 3.) Repeat round 2 one more time. If you want to make it more of a cuff then repeat round  2 as many times as you want. When you're done weave in the ends. and your ready to show it off!

Make as many of them that you want, feel free to give them away as gifts and such! But if you post this somewhere please link back here! I'd greatly appreciate it! Let me know if you have any questions. Y'all have fun!

3/13/2012: Update had to change it from a G hook to a H hook sorry for any confusion!